


This tutorial is only useful if you have Photoshop CS2!
If the images don't show up, just refresh the page or click the thumbs. They're there =]
- Open up a new file of 400x400 pixels
- Create a new layer and name it 'egg base'
- Select the 'Elliptical Marquee Tool' and create an oval as shown in the screenshot below:
'shot1'
- Fill this selection with #94fa11
Go to 'View' > 'Show' and check 'grid'.
This will be usefull when we start to warp the selection.
- Next, go to 'Edit' > Transform' > 'Warp' and create a 'Shell Lower' warp with a bend of 8% (this could vary depending on the ellips you drawed)
- Press 'Enter' to apply the warp.
You should have somehing like this now:
- Select the 'Gradient Tool' and pick a 'Foreground to Background' gradient with #94fa11 as the darkest color and #cefb94 as the lightest.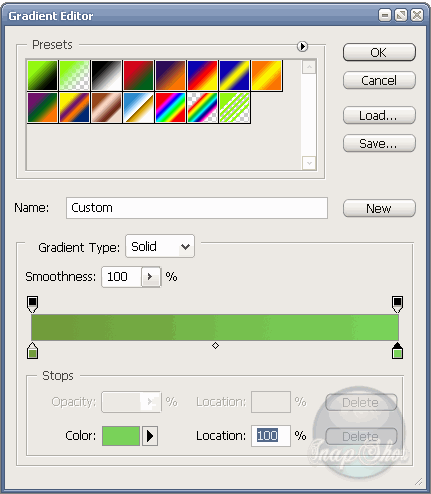
- Now, with the 'Liniar gradient' selected, draw a line from the bottom off the sellection to the top of the selection.
This should leave you with the following: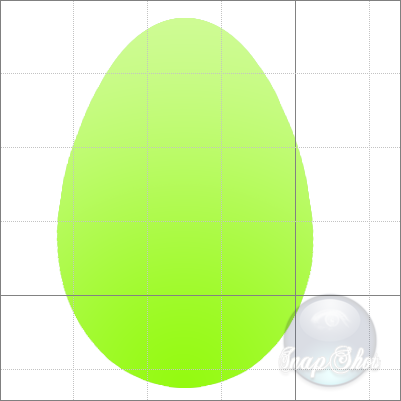
- Press 'Ctrl+D' and create a new layer. Name it 'gloss bottom'.
- Select the 'Elliptical Marquee Tool' again and draw a circle with a 'fixed ratio' and position it as shown in the screenshot:
- Select the 'Gradient tool' again and pick the 'Foreground to Transparant' gradient with a white color.
- With the 'Radial Gradient' selected draw a line from the bottom of the selected circle to the top the selection.
- Go to 'Edit' > 'Transform' > 'Warp' and create a custom warp as shown in the screenshot: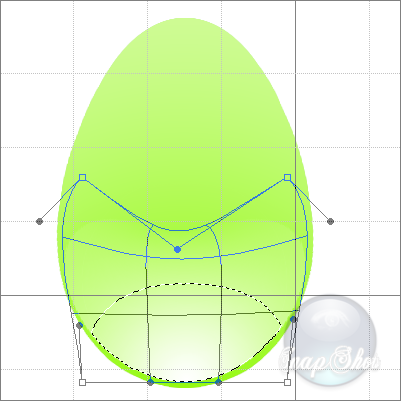
- You can always reposition the layer by selecting the 'Move Tool' and using the arrow keys on your keyboard.
By now you should have a similar result as the following:
- Create a new layer and name it 'gloss top'
- Select the 'Elliptical Marquee Tool' again and draw a circle with a 'fixed ratio' and position it as shown in the screenshot: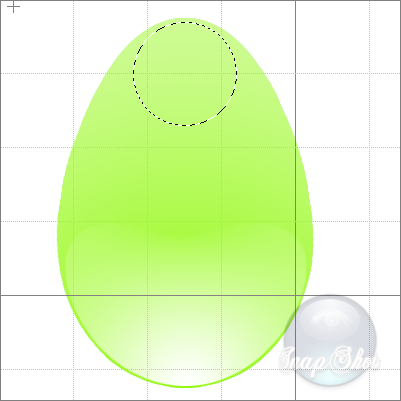
- Pick the 'Gradient Tool' again ('Foreground to Transparant' with a white color and 'Linear Gradient') and draw a line from the top of the selected circle to the bottom of the selected circle.
- Go to 'Edit' > 'Transform' > 'Warp' and create a custom warp as shown below:
- Press 'Ctrl+D' and remove the grid by going to 'View' > 'Show' and unchecking 'Grid'
- Now go back to the egg base layer and go to 'Layer' > 'Layer Style'.
Change the following settings:
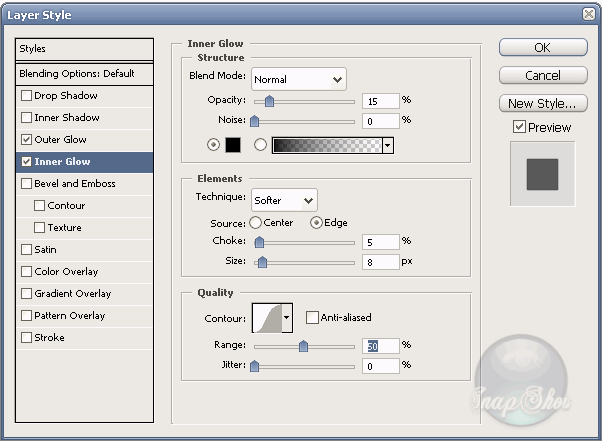
Click 'OK' and you're done!
The final result: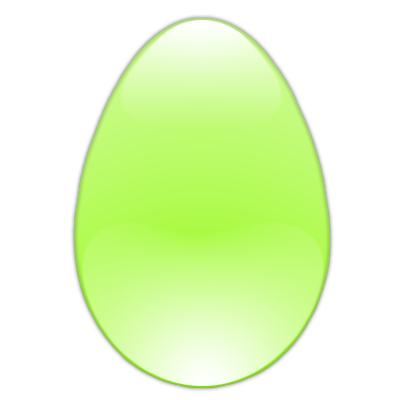
Friday, March 16, 2007
Make a glass egg using the warp tool
Subscribe to:
Post Comments (Atom)


No comments:
Post a Comment